By Jeff Hanns
Creating music can feel intimidating for beginners, but with the right tools and guidance, anyone can learn to make incredible beats. Logic Pro X, one of the most powerful Digital Audio Workstations (DAWs) available, is designed to transform your creative ideas into polished, professional-quality tracks. Whether you dream of producing hits for the charts, composing film scores, or just experimenting with different sounds, Logic Pro X has all the resources you need.
This guide will take you through the process of making your first beat in Logic Pro X. From understanding the interface to building your rhythm and melody, layering tracks, and polishing the final product, we’ll cover every essential step. By the end, you’ll not only have a complete track but also a strong foundation in music production.
What are the Basics of Logic Pro X
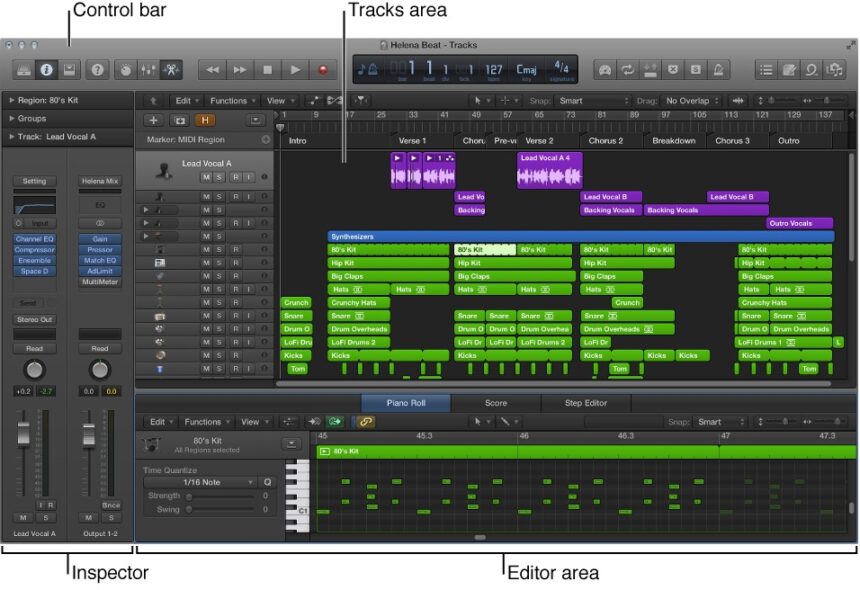
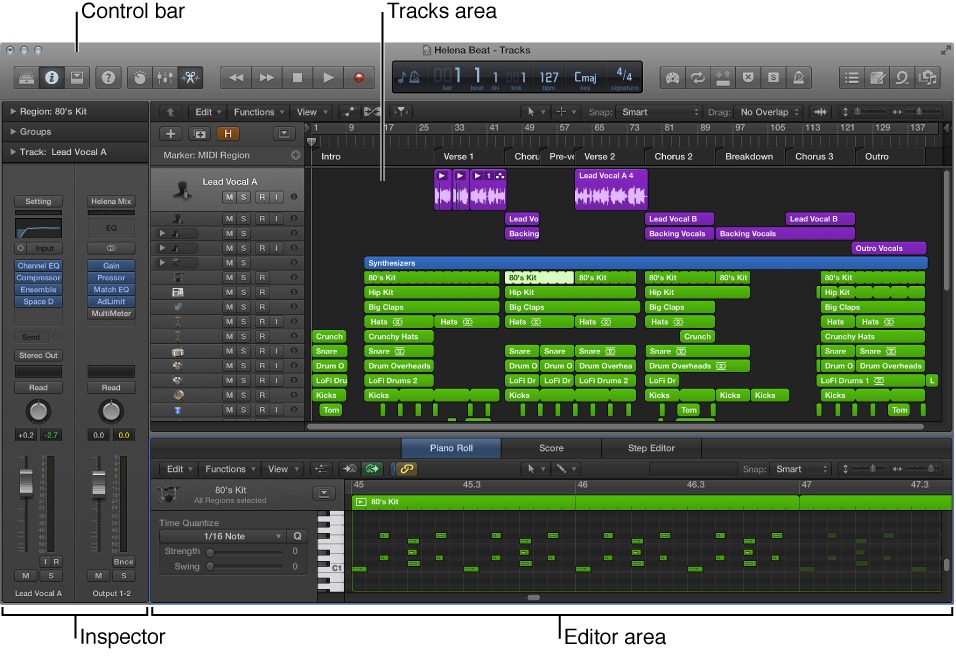
Before you create your first beat, it’s crucial to familiarize yourself with the Logic Pro X workspace. Think of it as your music production playground, where each tool has a role in bringing your ideas to life. Here are some key components you need to know:
- The Main Window
This is your primary workspace. It displays your tracks, timeline, and regions where you record, edit, and organize audio and MIDI data. - The Library
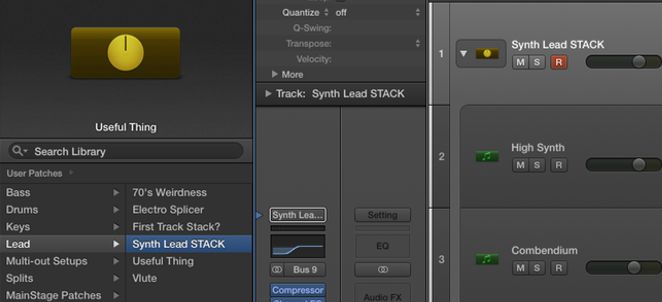
Found on the left side of the interface, the Library gives you access to instruments, sounds, and presets. You can choose drum kits, synths, and more from here. - Inspector Panel
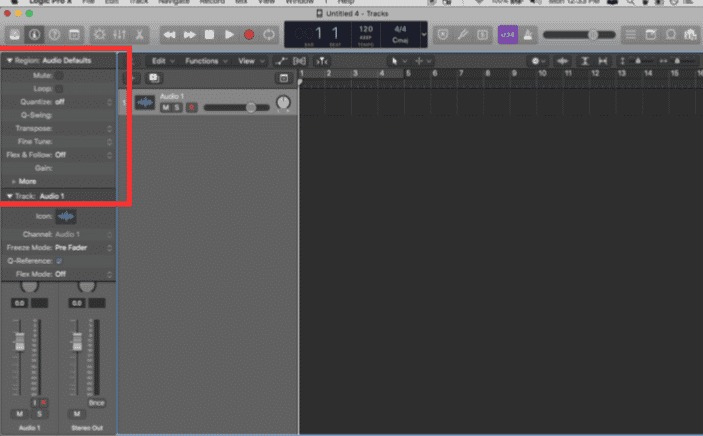
Located on the left side as well, the Inspector shows detailed information about your selected track or region. It’s useful for fine-tuning settings. - The Mixer
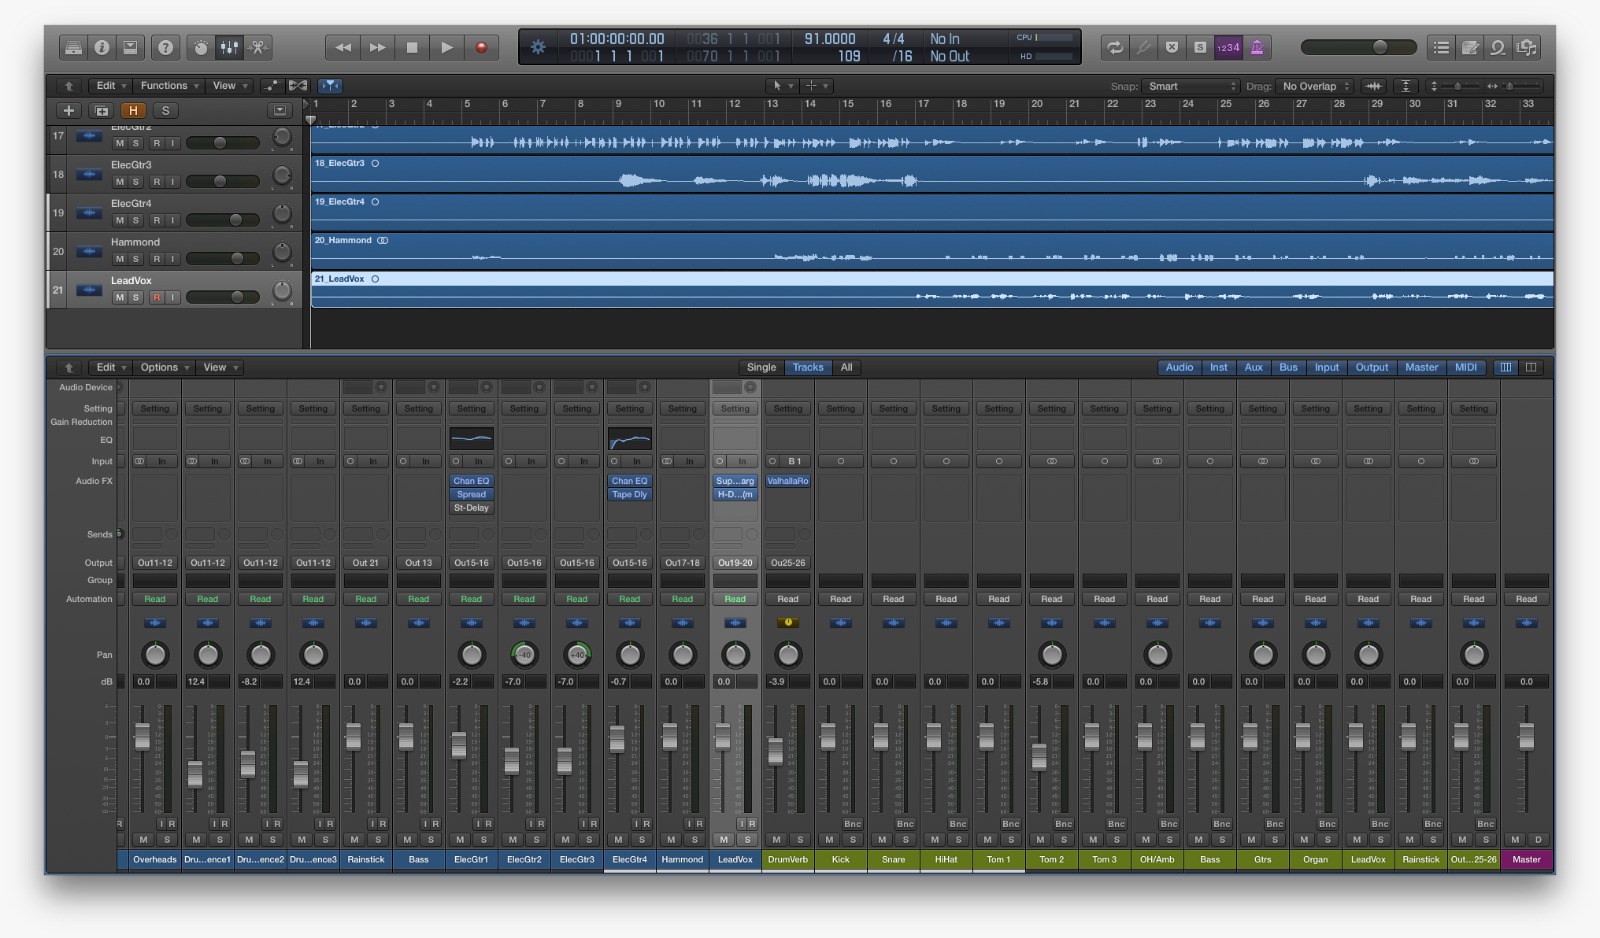
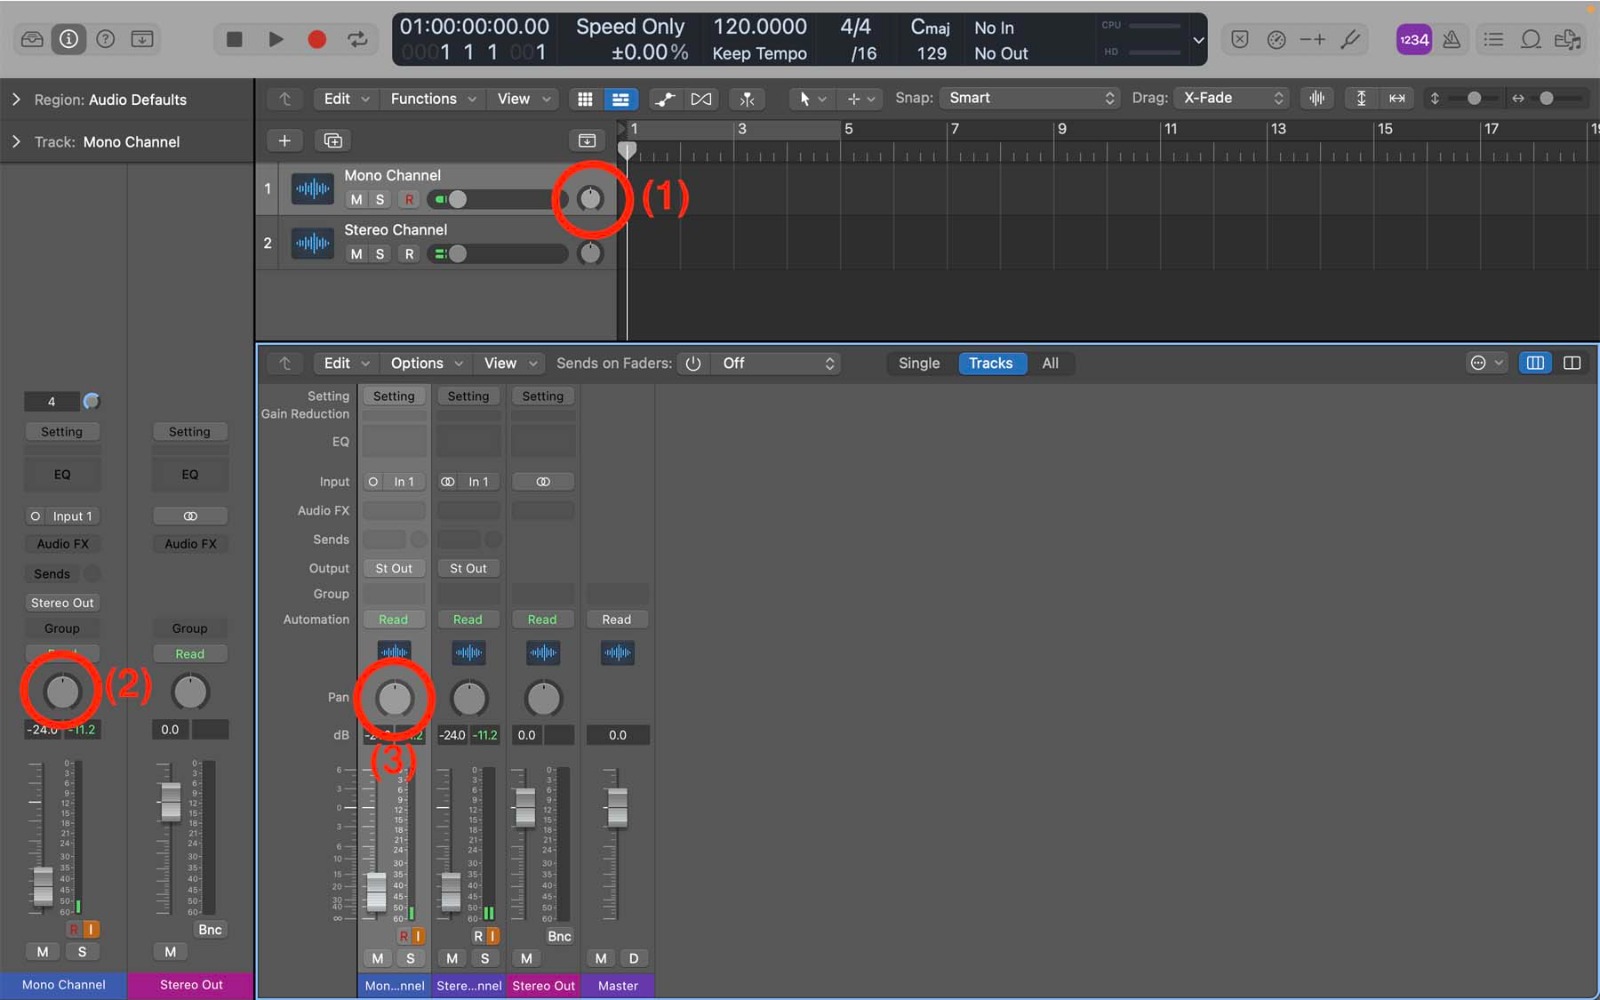
The Mixer panel is where you balance the levels of your tracks, adjust panning, and add effects like reverb or compression. - The Transport Bar
Found at the top, the Transport Bar houses playback controls, tempo settings, and other global adjustments, such as looping sections of your beat.
What are Steps Taken in Creating And Understanding the Basics of Logic Pro X
Step 1: Setting Up Your Project
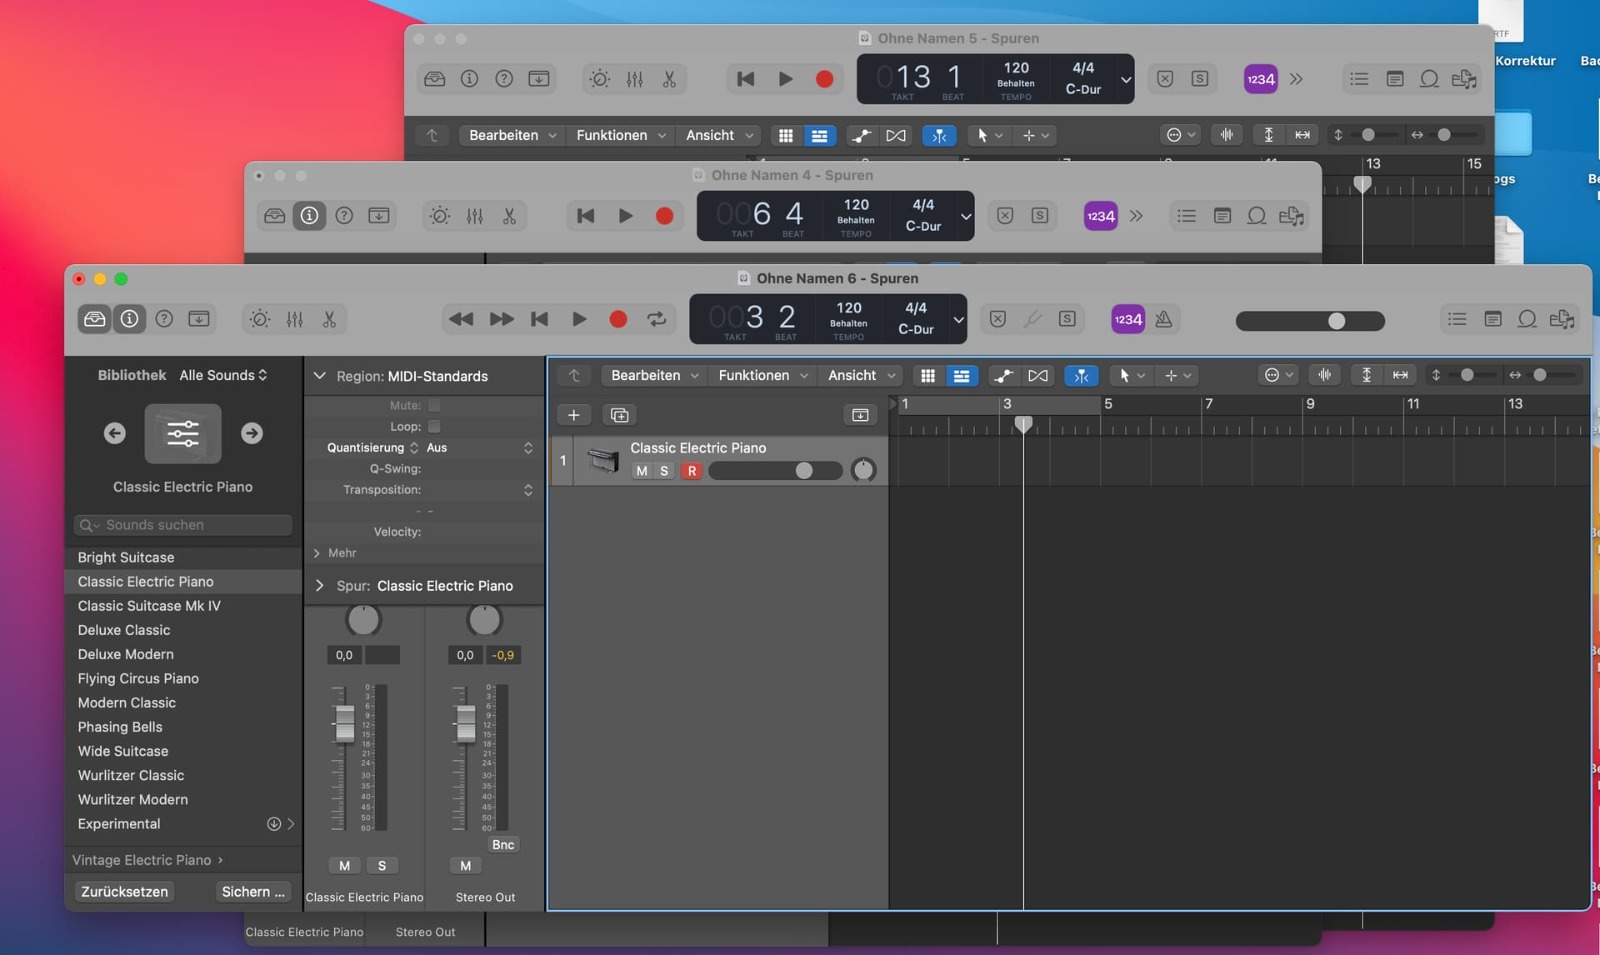
1.1 Launch Logic Pro X and Create a New Project
Once you open Logic Pro X, select “Empty Project” and create your first track. You’ll be prompted to choose a track type. For beat-making, select Software Instrument Track, which enables you to use virtual instruments like drum kits, synths, and keyboards.
1.2 Set the Tempo
The tempo sets the pace of your track. To adjust it, locate the BPM (Beats Per Minute) display in the Transport Bar. Depending on the genre, you’ll want to select an appropriate tempo:
- Hip-Hop: 75–100 BPM
- Pop: 100–130 BPM
- EDM: 120–150 BPM
1.3 Save Your Project
As you start creating, save your project frequently. Go to File > Save As and give your project a name. This ensures you don’t lose your work if something unexpected happens.
Step 2: Crafting Your Drum Beat
The drumbeat is the foundation of most tracks, setting the rhythm and energy.
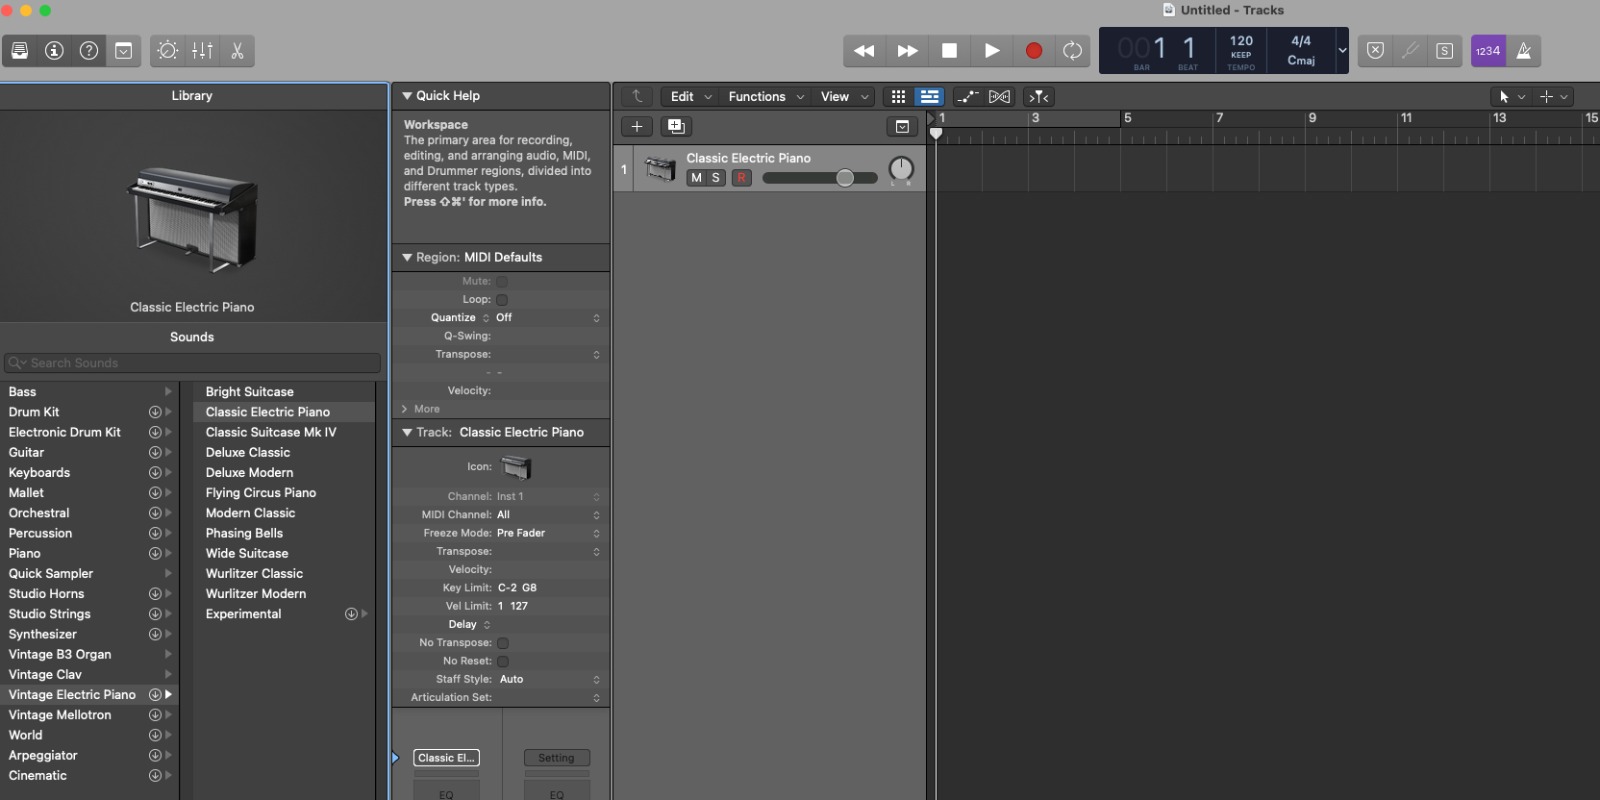
2.1 Choose a Drum Kit
In the Library, navigate to the Drum Kits section. Depending on your genre, you might pick an Electronic Kit for modern trap or EDM beats, or an Acoustic Kit for a more natural sound. Select your desired kit and start building your rhythm.
2.2 Program Your Beat
Double-click the track region to open the Piano Roll, where you’ll program your drum pattern. A simple 4/4 drumbeat could look like this:
- Kick: Place it on beats 1 and 3.
- Snare: Add it on beats 2 and 4.
- Hi-Hats: Fill in the spaces between beats with 1/8th or 1/16th notes for rhythm.
2.3 Quantize Your Drums
Quantization aligns your notes to the grid, ensuring your beat is perfectly in time. Select all the notes in the Piano Roll, then choose a grid resolution (e.g., 1/16) in the Inspector.
Step 3: Adding Melodies and Harmonies
Once you’ve laid down your drumbeat, it’s time to add melody and harmony.
3.1 Choose a Virtual Instrument
Create a new Software Instrument Track and pick an instrument from the Library. Options include pianos, guitars, or synthesizers. For beginners, starting with a piano or basic synth is a great way to build melodies.
3.2 Record a Melody
Use a MIDI keyboard or Logic’s Musical Typing feature (Shortcut: Command + K) to play your melody. Press “R” to record and let your creativity flow. Don’t worry about mistakes—Logic Pro X makes it easy to edit.
3.3 Edit and Refine
Open the Piano Roll and move any notes that are out of place. Use quantization to ensure your melody is in time, and adjust the note velocities to add dynamics.
Step 4: Layering Your Beat
To make your track more dynamic, add additional layers like a bassline, chords, and extra percussion.
4.1 Add a Bassline
A bassline provides depth and supports your melody. Select a bass instrument like “Deep Sub Bass” from the Library, then either program or record a simple bassline that complements your beat.
4.2 Build Chords
Chords add richness and harmony. Use a pad sound or electric piano to create lush progressions. Try common chord patterns like I-IV-V-I to give your track a strong structure.
4.3 Enhance with Percussion
Add extra percussion elements like claps, shakers, or toms to create energy and variation in your beat. These elements help make your track more engaging.
Step 5: Arranging Your Track
Your beat isn’t just a loop—it needs structure.
5.1 Create Song Sections
Break your track into sections such as:
- Intro: Start with a simple drum pattern or melody.
- Verse: Introduce your main rhythm and melody.
- Chorus: Add extra layers for a fuller sound.
- Bridge: Change the vibe or key to keep things interesting.
5.2 Use Automation
Automation allows you to adjust volume, panning, or effects over time. For example, you could slowly increase the volume of the intro to build anticipation.
Step 6: Mixing and Mastering
Mixing and mastering are crucial for turning your track into a polished product.
6.1 Balance the Levels
Adjust the volume of each track so that no single element overpowers the mix. The drums and bass should be prominent, while the melody and chords sit comfortably in the mix.
6.2 Add Effects
Use effects like reverb to add space, EQ to shape the sound, and compression to control dynamics. Subtle use of effects can make a huge difference in your track’s overall quality.
6.3 Master the Track
Mastering ensures your track sounds good on all playback devices. Use Logic’s mastering plugins to fine-tune the overall sound, then export your beat in a high-quality format like WAV or MP3.
How to Bring Your Sound to Life
Making a beat in Logic Pro X is a creative process that blends technical skills with artistic expression. By mastering the basics, experimenting with sounds, and refining your techniques, you can produce tracks that reflect your unique style.
Remember, the key to success is practice and perseverance. Each project you create will teach you something new, and over time, you’ll build the confidence and skills to tackle more complex productions.
So, fire up Logic Pro X, let your imagination guide you, and start creating. The world is waiting to hear your sound—your musical journey begins no

